
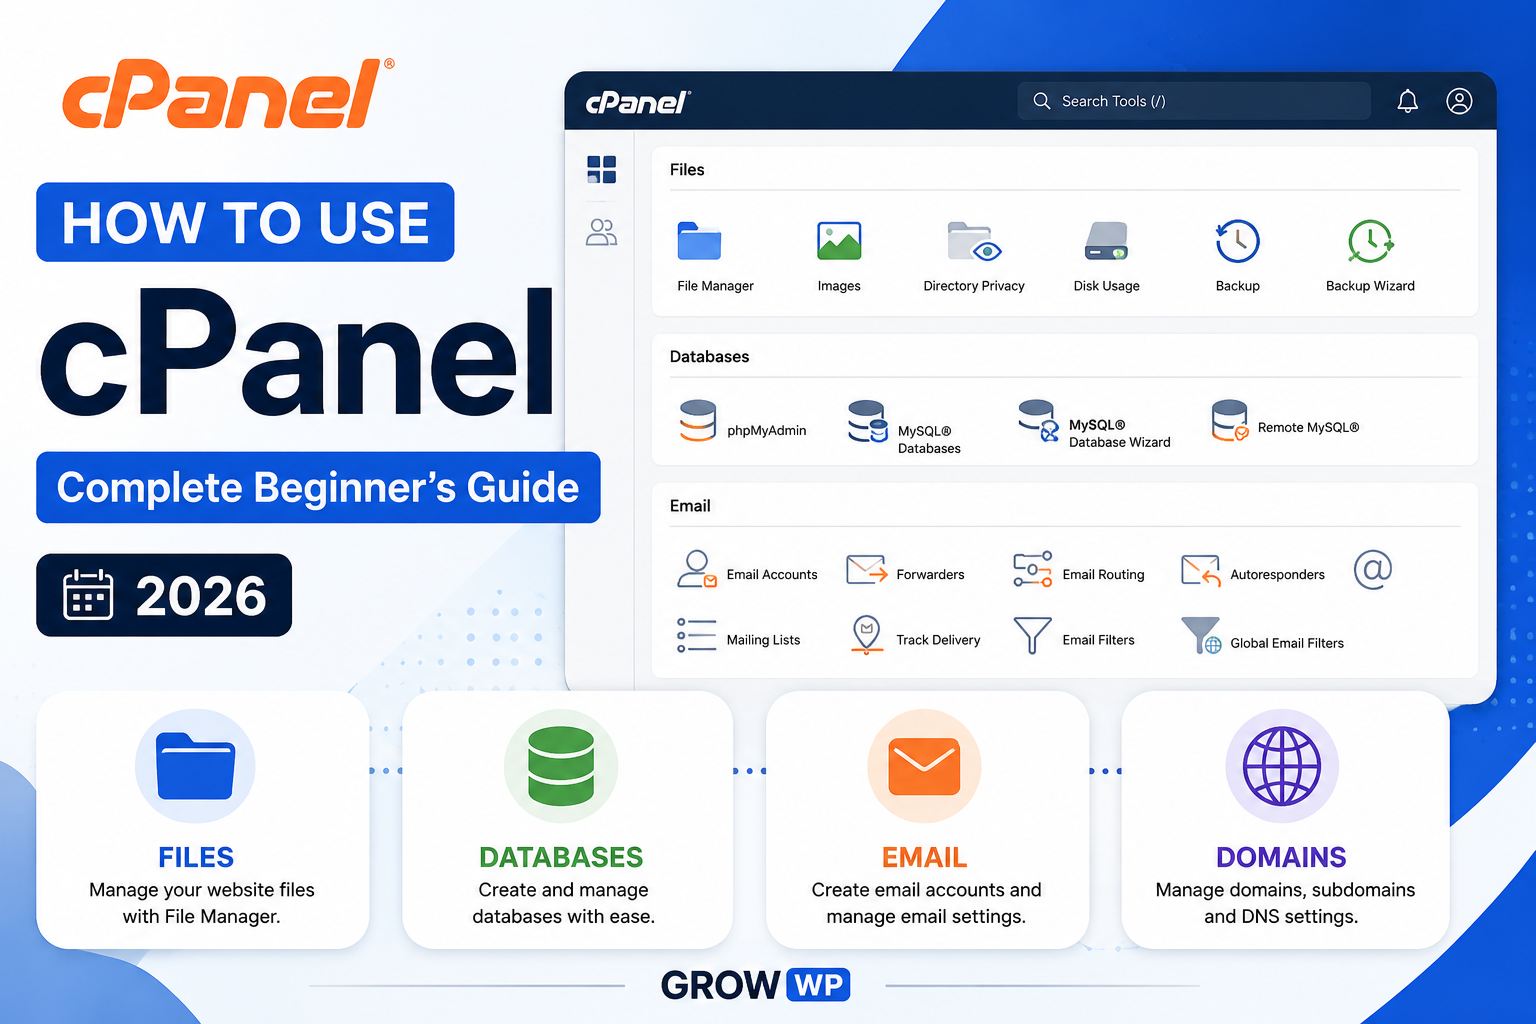
What is cPanel?
cPanel is a web-based control panel that hosting companies install on their servers so you can manage your website without touching the command line. Instead of connecting to a server directly, you open a dashboard in your browser and click through simple icons to upload files, create email addresses, manage databases, and much more.
It's the most widely used hosting control panel in the world, which is why almost every beginner WordPress tutorial eventually points back to it — whether you're installing WordPress for the first time, fixing an error, or setting up a professional email address on your own domain.
Step 1: Logging in to cPanel
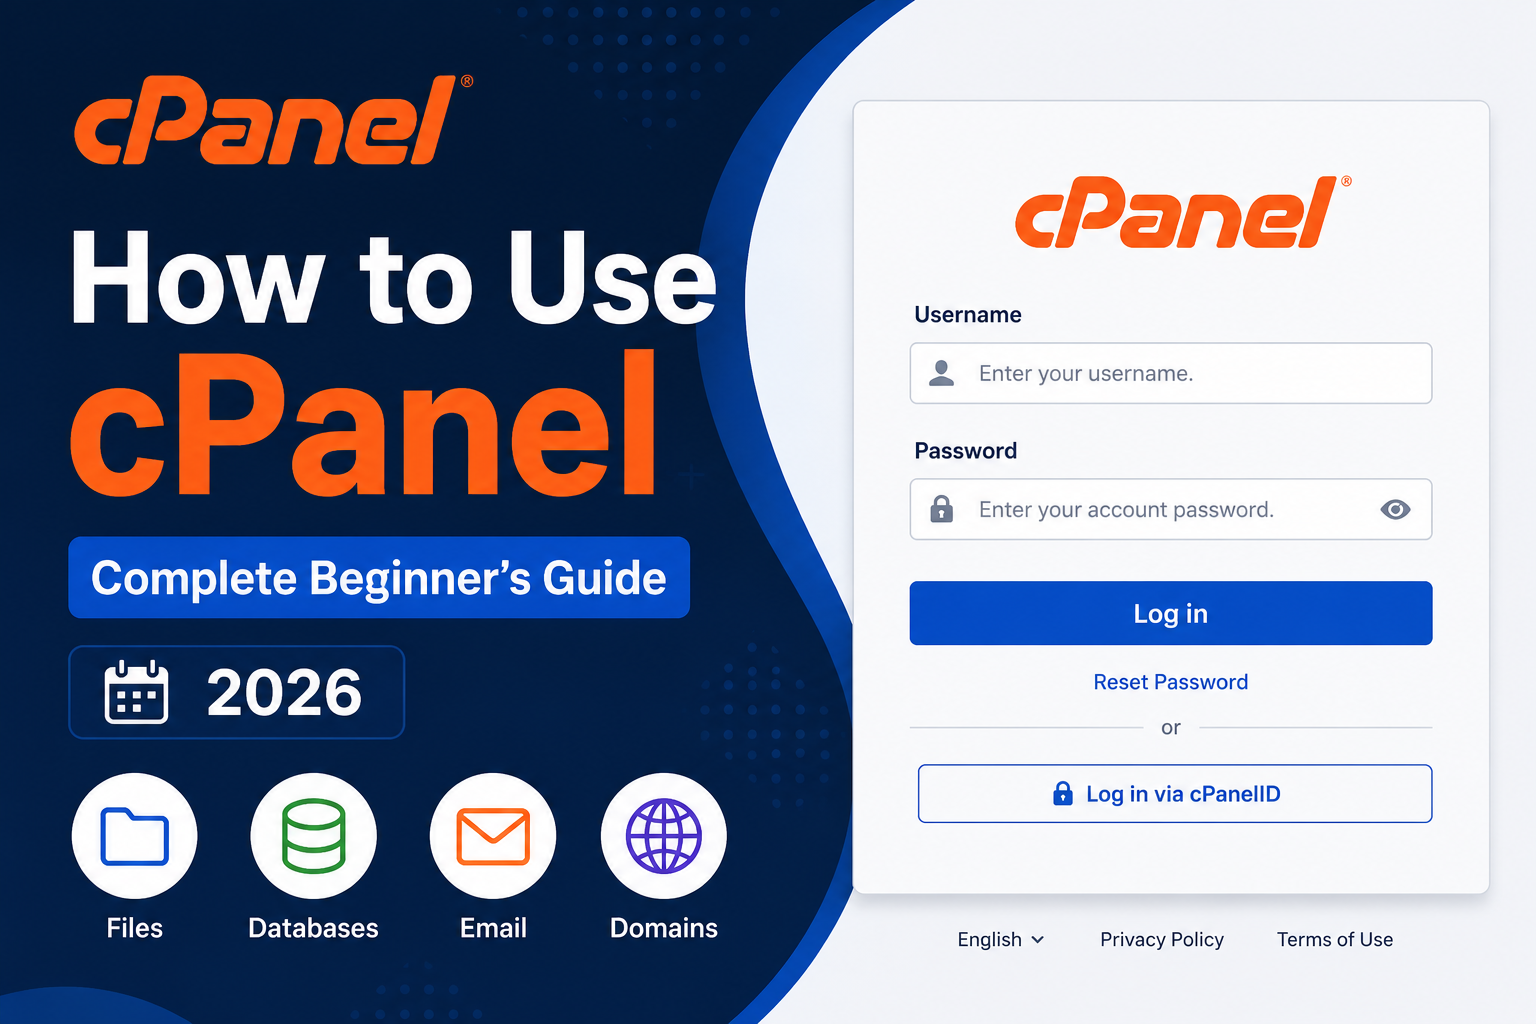
Your hosting provider sends your cPanel login details in a welcome email right after you purchase hosting. There are usually three ways to reach the login screen:
- Visit yourdomain.com/cpanel directly in your browser
- Use the direct cPanel URL and port your host emailed you (e.g., yourdomain.com:2083)
- Log in through your hosting account dashboard, which usually has a "Go to cPanel" button
Enter the username and password exactly as provided — these are different from your website's WordPress admin login.
Step 2: Understanding the Dashboard
Once logged in, cPanel organizes its tools into labeled sections. The ones you'll use most as a beginner are:
| Section | What it's for |
|---|---|
| Files | File Manager, Backup, FTP accounts, Disk Usage |
| Databases | MySQL Databases, phpMyAdmin |
| Domains | Addon Domains, Subdomains, Redirects, DNS Zone Editor |
| Email Accounts, Forwarders, Autoresponders, Spam filters | |
| Security | SSL/TLS Status, IP Blocker, Two-Factor Authentication |
| Software | Softaculous Apps Installer, Select PHP Version |
A search bar at the top lets you jump straight to any tool by typing its name, which is faster than scrolling once you know what you're looking for.
Step 3: Using File Manager
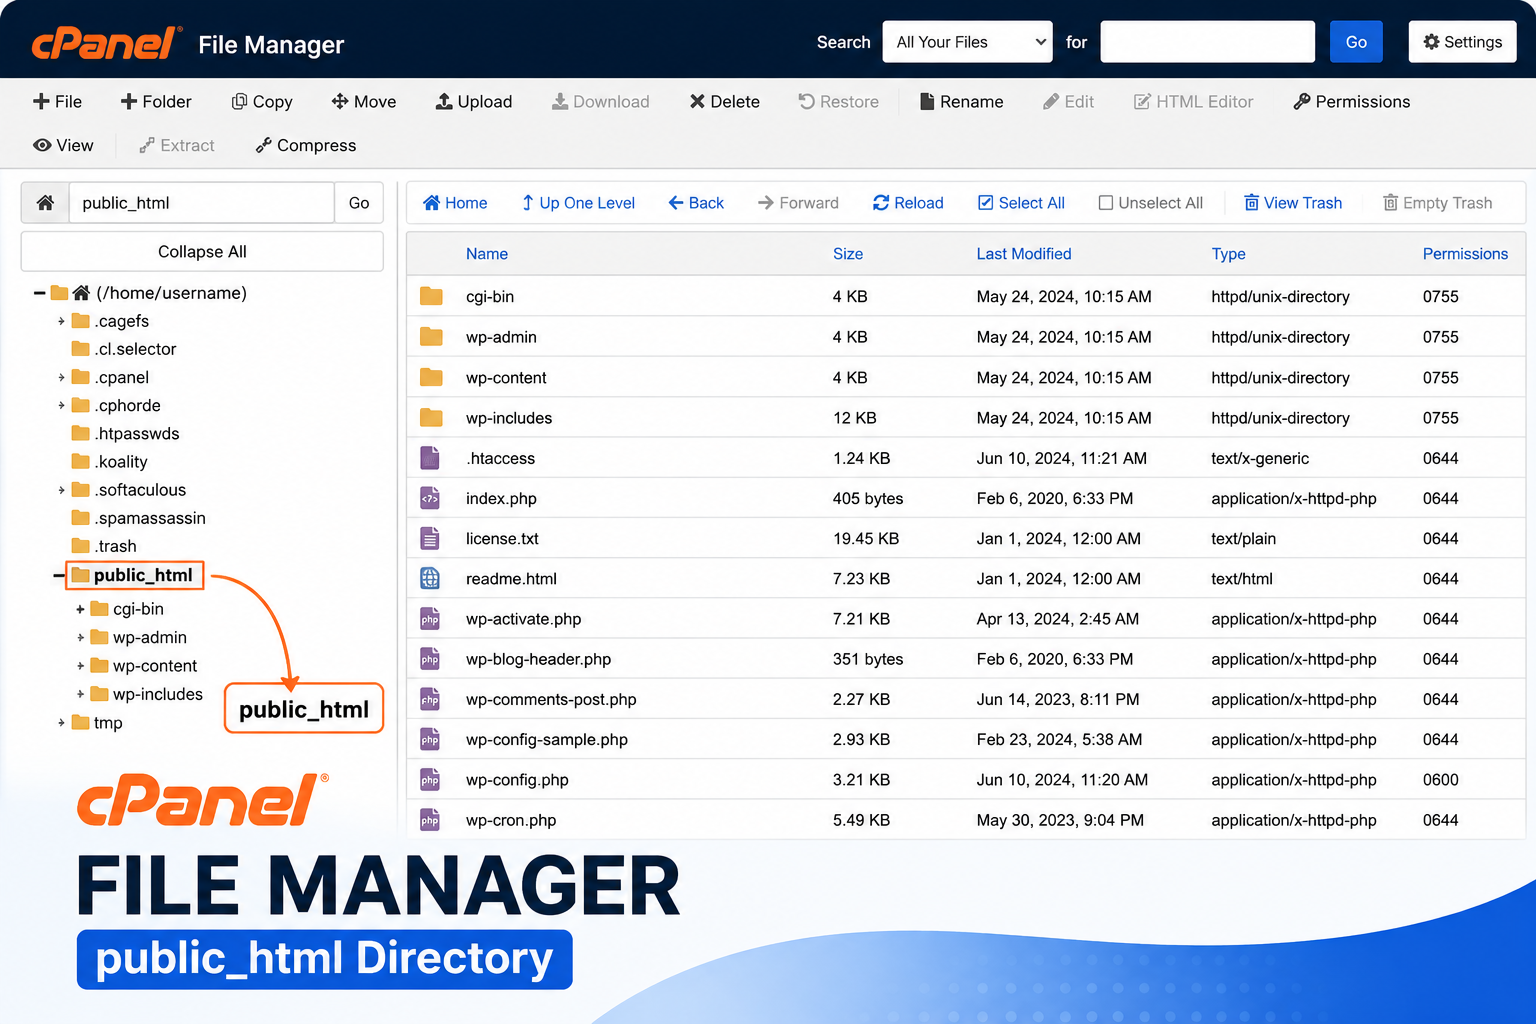
File Manager lets you manage your website's files directly from the browser, without needing a separate FTP client.
- Open File Manager from the Files section
- Navigate into the public_html folder — this is your website's root directory
- Use the toolbar to upload, create, rename, move, compress, or delete files and folders
- Right-click any file for quick options like Edit, Download, or Change Permissions
Step 4: Managing Databases
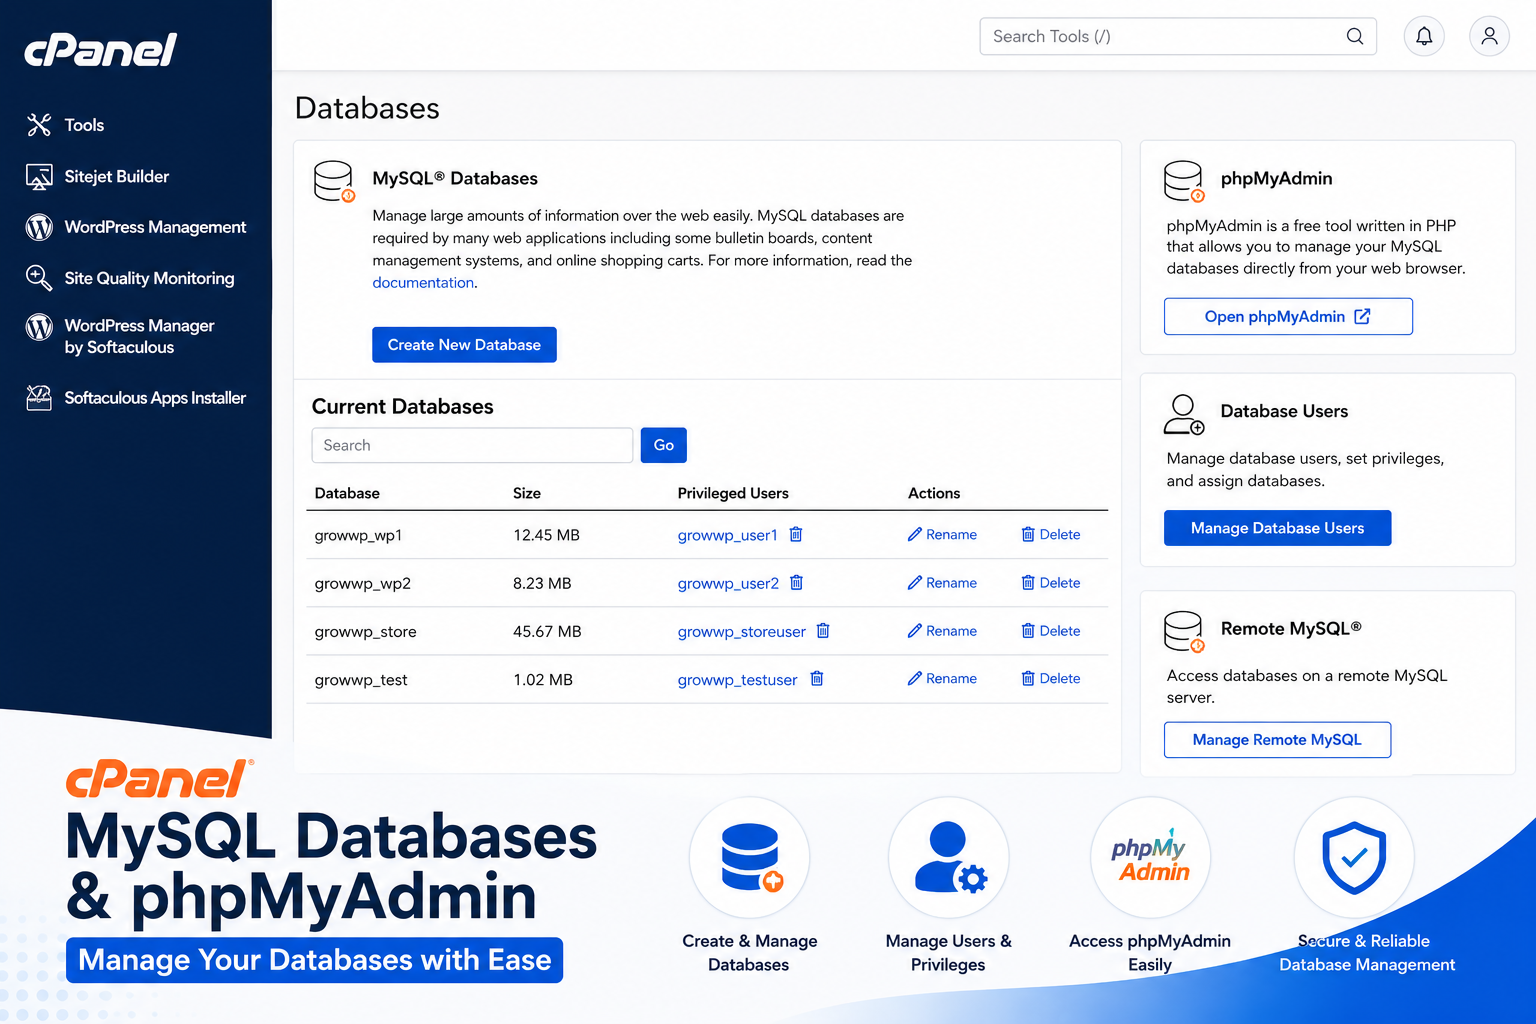
WordPress and most CMS platforms store their content in a MySQL database, which cPanel lets you fully manage:
- Go to MySQL Databases and create a new database with a clear name
- Create a new database user with a strong password
- Add that user to the database and grant "All Privileges"
- Use phpMyAdmin to view, search, edit, import, or export the actual data inside the database
You'll only need to touch this directly during manual WordPress installs, migrations, or advanced troubleshooting — Softaculous handles it automatically for one-click installs.
Step 5: Setting Up Email Accounts
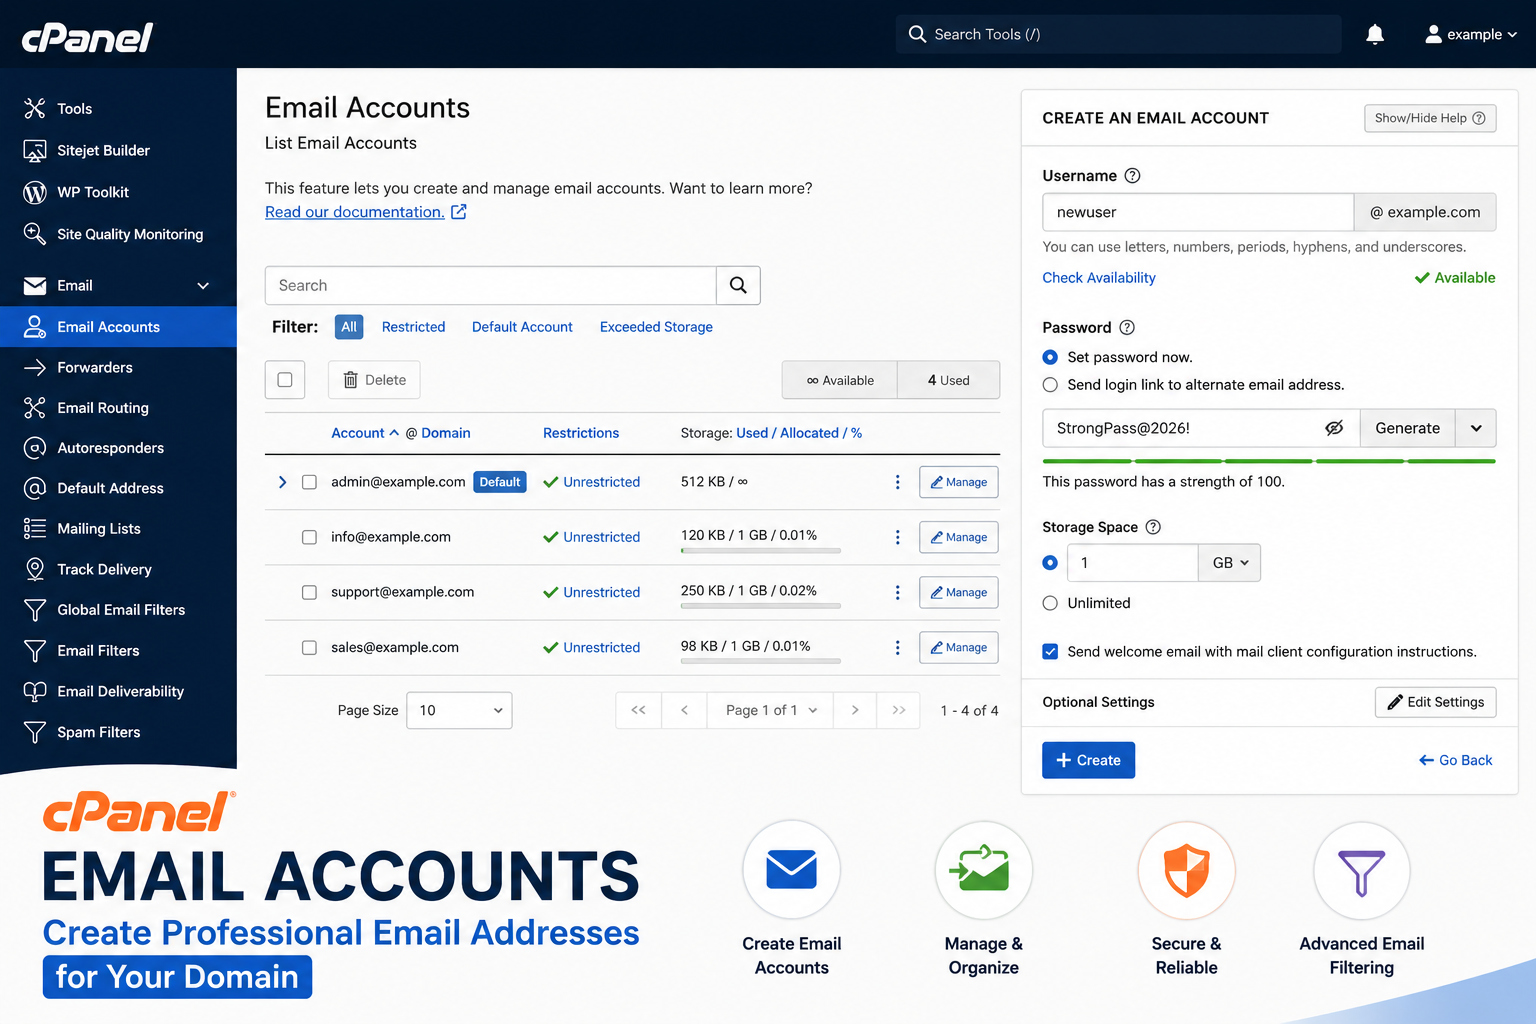
- Open Email Accounts under the Email section
- Click Create, then enter the desired address (e.g., contact@yourdomain.com) and a strong password
- Set a mailbox storage quota or leave it unlimited if your plan allows
- Access the new mailbox via webmail, or connect it to Gmail/Outlook using the provided IMAP/SMTP settings
Step 6: Managing Domains and Subdomains
If you plan to host more than one website, or want a separate section like a blog or store, cPanel handles this without needing a new hosting account:
- Addon Domains — host a completely separate website (different domain) under the same account
- Subdomains — create sections like blog.yourdomain.com under your main domain
- Redirects — forward one URL to another
- DNS Zone Editor — manage DNS records like A, CNAME, and MX for advanced configuration
Step 7: Installing Software with Softaculous
Softaculous is a one-click app installer bundled into most cPanel accounts. To install WordPress:
- Open Softaculous Apps Installer from the Software section
- Search for and select WordPress
- Choose your domain, set a site name, admin username, and password
- Click Install — WordPress will be ready in a couple of minutes, database included
The same tool can also install other popular apps and handles the database creation step automatically, which is why most beginners never need to touch phpMyAdmin directly for a fresh install.
Step 8: Backups and Security
Use the Backup Wizard or Backup tool to download a full copy of your files and databases regularly, especially before making major changes. For security, check the SSL/TLS Status tool to confirm your certificate is active, enable Two-Factor Authentication on your cPanel login, and use IP Blocker if you notice repeated suspicious login attempts.
Common Mistakes to Avoid
- Editing core files directly in File Manager without keeping a backup copy
- Deleting a database user without first checking which website or app depends on it
- Confusing your cPanel login with your WordPress admin login — they are separate
- Ignoring the Disk Usage tool until the hosting account is already full
- Ignoring backup reminders and only realizing you need one after something breaks
Frequently Asked Questions
Conclusion
cPanel looks intimidating the first time you open it, but almost everything a beginner needs sits inside just five tools: File Manager, MySQL Databases, Email Accounts, Domains, and the Backup Wizard. Once you're comfortable navigating those, tasks like installing WordPress, setting up a professional email address, or restoring a backup become quick, repeatable steps instead of stressful unknowns.